PICKLEBALL NetSkirt
Instructions & Details
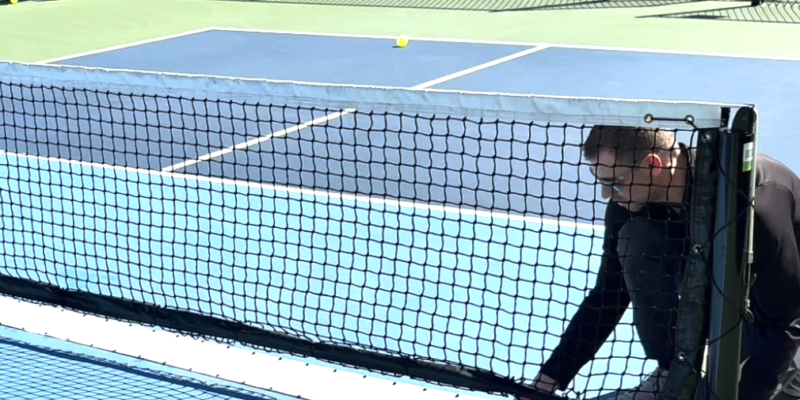
The NetSkirt can easily be installed on any normal official Pickleball net.
The mesh material is very light weight and allows water to easily pass through the NetSkirt.
The NetSkirt can be used for Indoor Courts or Outdoor Courts.
The NetSkirt can be installed on net systems with permanent poles or systems with parallel bars across the bottom.
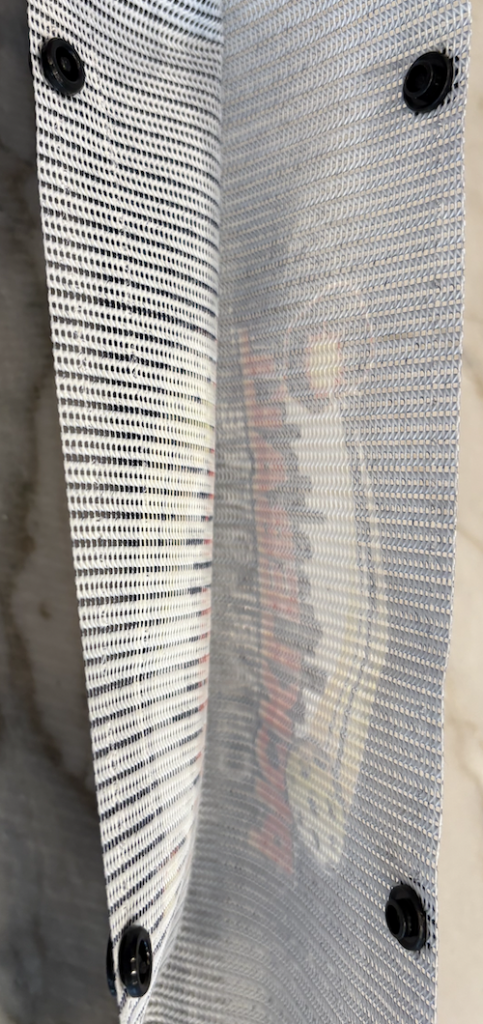
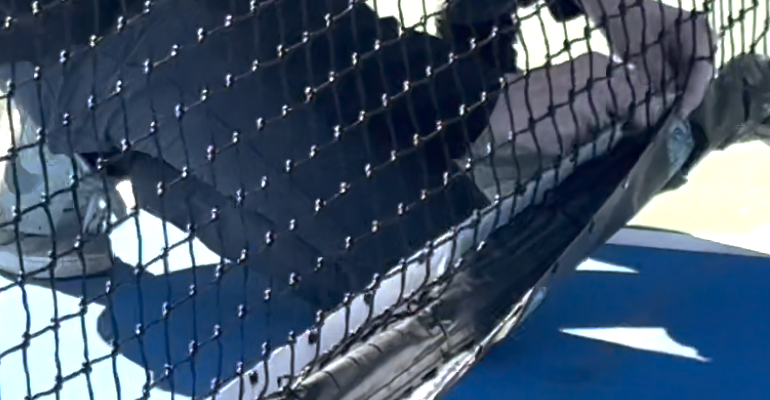
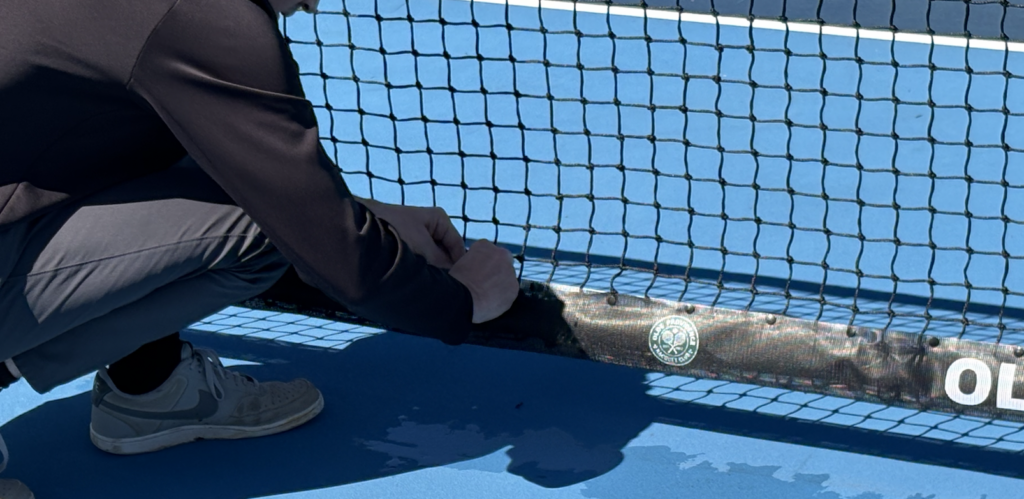
The NetSkirt is attached with plastic snaps to allow for easy installation and removal and adjustments as needed, or with grommets if the installation is going to be more permanent.
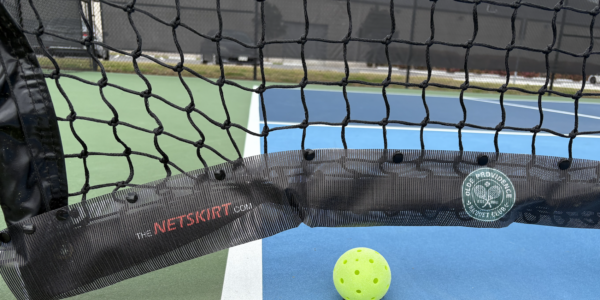
The NetSkirt is “printed” on the white mesh material, so customers can choose whatever design, colors and layout they want.
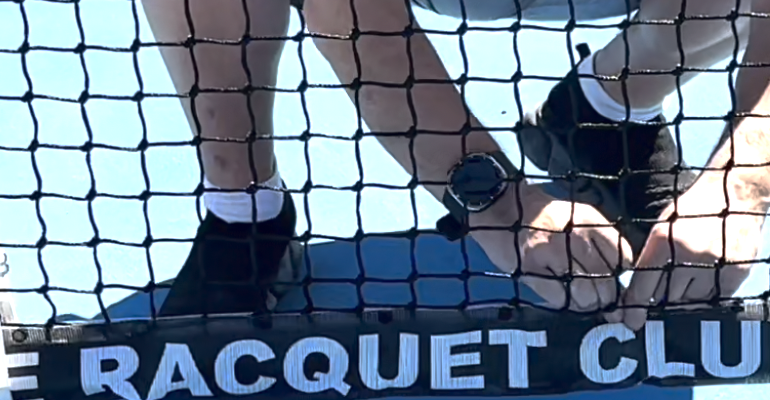
The NetSkirt is attached with plastic snaps every 4 inches to allow for easy installation and removal and adjustments as needed. Snap colors come in black or white. For more permanent installations, grommets are an option.
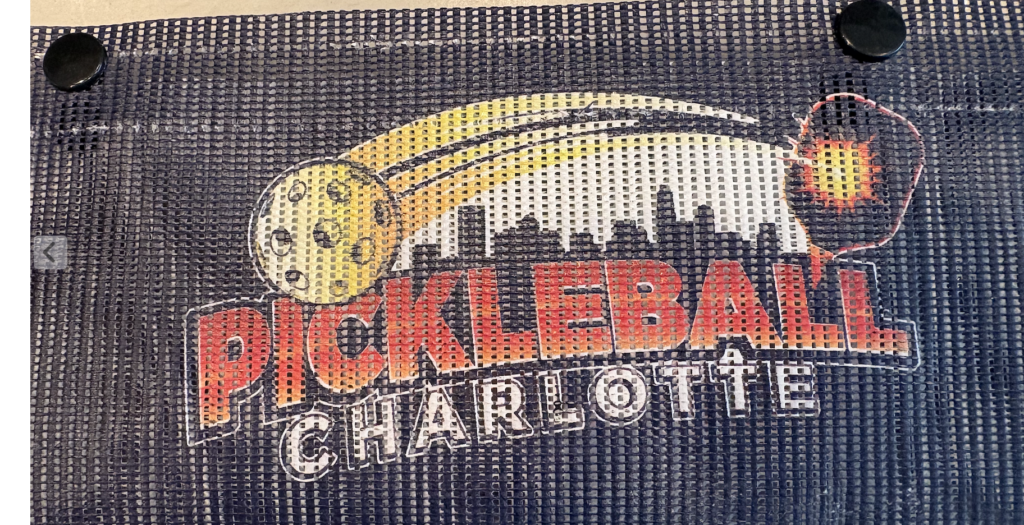
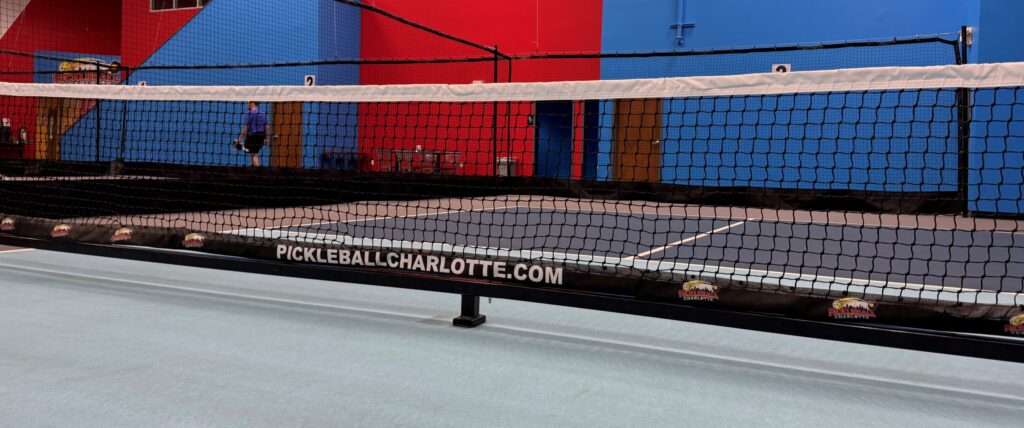
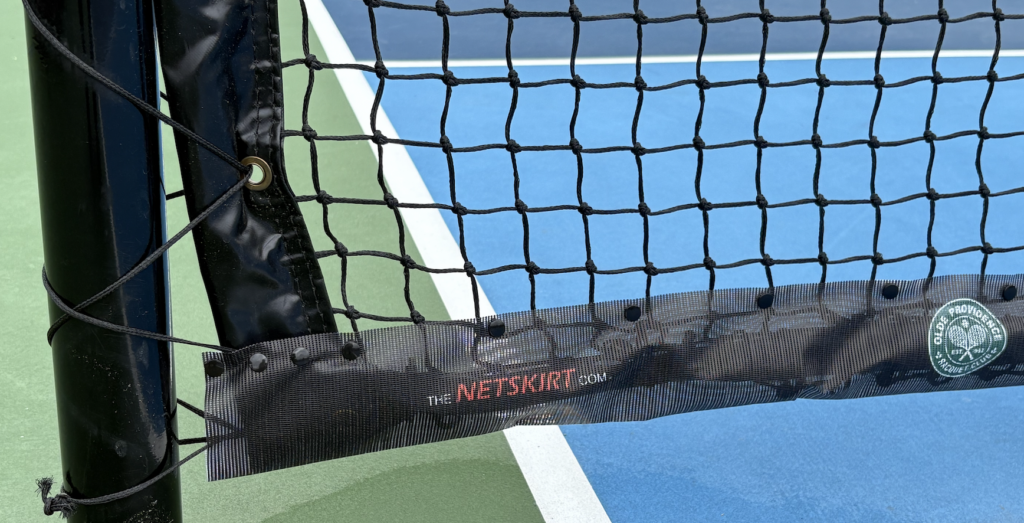
The default NetSkirt has a Black background with White block letters in the center with logos on both sides.
The NetSkirt can be used Indoors or Outdoors and allows for a great Branding and Advertising option for Clubs, Events, Instructors, etc
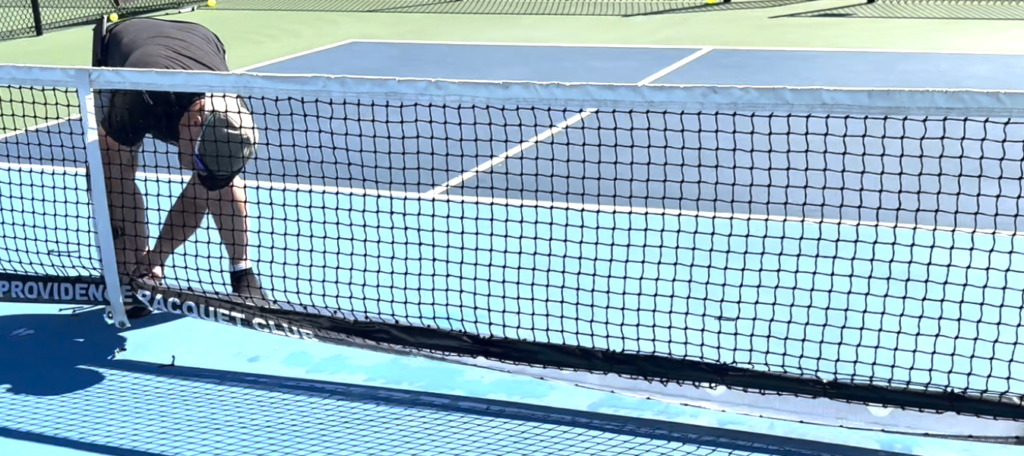
The NetSkirt can be installed with only 1 person in less than 30 minutes. Customers planning to leave the NetSkirt in place should zip tie the bottom of their current net to the desired height and then attach the NetSkirt. Customers planning to use the NetSkirt for temporary use can just attach the NetSkirt directly without using any zip ties.
The snaps allow the NetSkirt to easily be adjusted as needed to always have the NetSkirt be parallel to the ground and be a consistent height to allow the Pickleball to roll under the net. Grommets and zip ties are an option for more permanent installations.
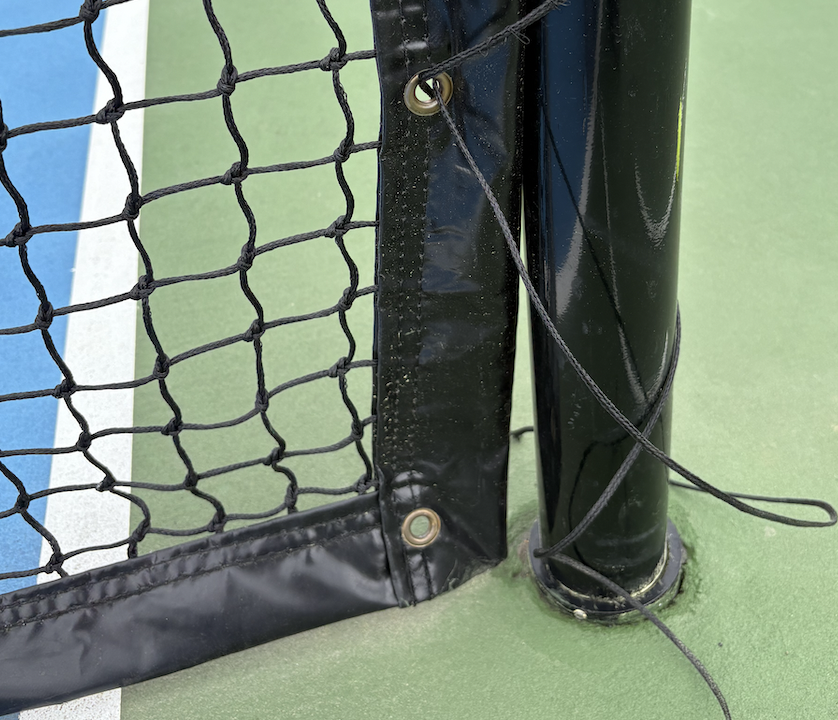
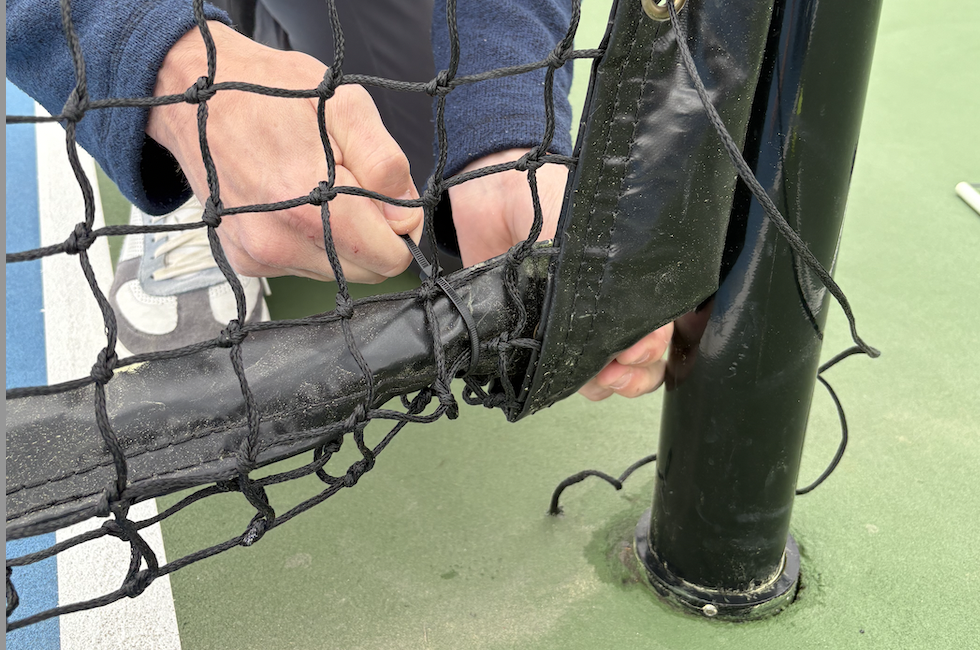
For 36″ Pickleball nets that touch the ground, it is best to remove the white end pole and roll the bottom of the net one time and then attach zip ties if installing permanently. Suggest to install about 12-14 zip ties across the bottom and do not pull them tight. Best to have the bottom of the net be more flat versus bunched up and rounded.
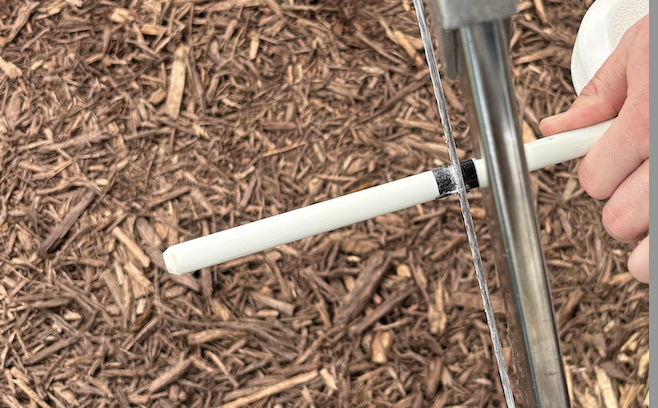
Cut the white pole 6 inches shorter with a hacksaw and black electrical tape. If installing temporarily, leave the white pole out or cut the poles and put them back in. The nets will work fine with the pole shorter even if not using the NetSkirt.
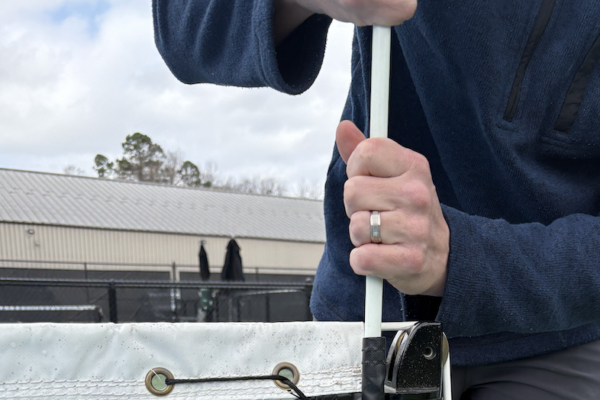
Attach the NetSkirt with snaps to desired height or use grommets and zip ties if installing for more permanent use.
You can choose to just angle the NetSkirt down at the pole versus removing the white pole if you prefer. More likely for temporary use.
For 31″ Pickleball nets that are higher on the ends and sag in the middle, you can usually just “tuck” the excess bottom black tape inside the NetSkirt.
Follow same instructions as above for cutting white pole.
NOTE: We suggest poking small pin holes in the bottom of any of your original Pickleball nets that are going to be used outdoors, whether attaching a NetSkirt or not. These pin holes allow water to drain out of the bottom of your existing Pickleball net.
Raise Your Net
Brand Your Club
Roll Your Balls
